")


In a digital age where everything is stored in a virtual world of phones, tablets, laptops (you get the point), I challenged myself to see my work come alive. Rather than relying on Facebook or Instagram’s user-friendliness, I’m challenging myself to print my work, and photos to see them daily and to remind myself of the beauty that I was blessed enough to see. Whether it’s fond family memories or great once-in-a-lifetime opportunities, I want to find new ways to appreciate them other than frame them. So now I’m welcoming a new series to the blog, I’m so cunningly calling “Print-your-photo-prints.” Its a la Martha Stewart meets Anthropologie meets Serafin Love.
One of my recent finds is this nifty tool (yes, I just said ‘nifty’) called the blender pen. I’d say that this is magical because it can instantly transfer a paper image onto almost any kind of surface. In less than a few minutes, your image can be on anywhere from a wood block to your daily planner or anything else your heart desires.
I’ve had a few film proofs lying around the office for a while. I don’t have enough wall space to hang them up, or am a little to uninspired to reconfigure my wall real estate. I pulled some of my favorites from a little memory box I keep to store proofs and non-client images. After sorting out the selected photos, I took a few to Kinko’s and made copies due to my toner less printer. For this kind of project, it is ABSOLUTELY imperative to photocopy your images and/or directly print them from a photocopier that uses toner. Laser inkjet printers won’t cut it. [I had to find this note out the hard way].
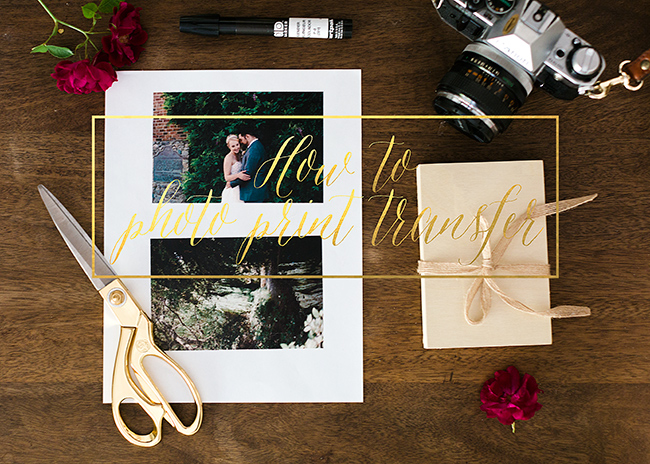
For this crafty project you’ll need:
- Digital images ready to print from a toner printer or
- Photocopies of your images (from the office or Kinko’s)
- A blender pen (can be found here or at your nearest art supply store)
- Scissors
- A transferable surface of your choice (maybe nothing with metal) Can be a notebook, planner, wood block, book, etc.
- Garnishes like flowers or ribbons (optional) you know, to make the workspace pretty or to gift away
Now, I must say this in advance, I’m not craft guru nor pretend to be a super genius when it comes to DIY projects, but I love to work with my hands. The result may come out a little rustic and definitely not commercially perfect, but I think that’s the point. Also, the pen may release an unpleasant-paint-like stench, so do it in a space where the smell may not bother others. Feel free to let me know what your results are…

I realized that working on wood blocks might prove to be a bit cumbersome, so here are some tips:
- Make sure to hold your image steady on the transferable device.
- When turning the image down, completely saturate the area that you wish to transfer. Maybe even use the blend twice.
- Let it dry and be patient (no peeking beforehand!)
- If you feel it didn’t transfer 100% as well as you envisioned, feel free to repeat exactly from where you started!
Onto what did you transfer your photo?
Comments
")
Comments Off on How to transfer your images instantly! | Print your photo prints